The Care Playbook for Silk: How to Wash, Store, and Repair Delicate Blouses, Slips, and Scarves Without Ruining Them
You bought the silk blouse secondhand, found it at a consignment shop for a fraction of retail, and wore it exactly once before a coffee splash landed near the collar. You dabbed at it with a wet napkin, then tossed it in the washing machine on delicate—because that’s what the tag said, right? When you pulled it out, the fabric had gone stiff in places, the color looked washed out, and the once-fluid drape now resembled crumpled tissue paper.
This is the moment most silk owners meet their regret. And it’s exactly why so many beautiful silk pieces end up back in donation bins after a single laundering mistake, perpetuating the cycle of waste that sustainable fashion exists to disrupt.
Silk is not fragile. It is particular. The distinction matters because treating silk like it’s made of spun sugar leads to over-caution (dry cleaning everything, even when unnecessary) while treating it like cotton leads to the disaster described above. The truth sits in the middle: silk requires specific care, but that care is learnable, repeatable, and far less expensive than replacing a ruined garment.
This playbook covers everything from the wash basin to the repair needle, so your silk pieces outlast the trends they were bought for.
Why Silk Punishes the Unprepared
The tension with silk begins at the fiber level. Unlike cotton or linen, silk is a protein fiber—structurally closer to your hair or skin than to plant-based fabrics. This means it responds poorly to alkaline substances (most conventional laundry detergents), high heat, and aggressive agitation.
The most common mistake? Using standard detergent. Those enzymes that break apart stains on cotton? They digest silk protein. Woolite, despite its “delicate” branding, has destroyed more silk than any single washing machine cycle. The pH imbalance alone can cause silk to lose its luster, feel rough, and even develop tiny holes over time.
Heat is the second offender. Hot water weakens silk fibers permanently. High dryer heat causes brittleness and shrinkage. Even steam from an iron held too close can create water spots that won’t come out.
And sunlight—the third silent killer—causes photodegradation. That vintage silk scarf you hung in the window to dry? Its colors are fading with every hour of exposure.
The good news is that once you understand these vulnerabilities, you can work around them with precision. Silk is remarkably durable when treated correctly. Antique silk garments exist in museums because someone respected the fiber’s needs.
The Wash Protocol: Hand Washing Is the Standard
Machine washing silk is possible, but it requires a machine with a dedicated hand-wash or silk cycle, a mesh laundry bag, and the willingness to accept some risk. For most pieces, hand washing is safer and takes only fifteen minutes of active time.
What You Need
- A clean basin, sink, or bucket
- Lukewarm water, no hotter than 77°F (25°C)
- A silk-specific detergent or a mild, enzyme-free shampoo (Ivory is the classic recommendation from Martha Stewart’s team)
- White vinegar (optional, for setting color and removing residue)
- Two clean, dry towels
Avoid Woolite at all costs. Avoid anything labeled “stain-fighting” or “enzyme-powered.” Look for detergents specifically formulated for silk, such as The Laundress Delicate Wash, Eucalan, or a no-rinse silk wash that won’t require aggressive rinsing.
Step-by-Step Hand Wash
Step 1: Fill the basin with lukewarm water. Test it with your wrist—it should feel neutral, not warm. If it feels warm to your skin, it’s too hot for silk.
Step 2: Add detergent. Use the amount specified on your detergent bottle, usually one to two tablespoons. Swirl it in until fully dissolved. Dropping undiluted detergent directly onto silk can cause color fading.
Step 3: Submerge the garment. Gently press it down until fully saturated. Let it soak for three to five minutes—no longer than ten. Extended soaking can cause dye to bleed.
Step 4: Agitate gently. Use an up-and-down motion through the water, pushing the garment through the soapy water. Do not rub, scrub, twist, or wring. Think of this as persuading the dirt out, not forcing it.
Step 5: Drain and rinse. Empty the soapy water and refill with fresh lukewarm water. Repeat until no suds remain. If you used a no-rinse detergent, skip this step entirely.
Step 6: Remove water. Lift the garment from the basin, supporting its weight with both hands. Lay it flat on a clean towel, roll the towel up like a jelly roll, and press gently to absorb moisture. Never twist or wring.
Step 7: Dry flat. Unroll the towel and transfer the garment to a second dry towel or a drying rack. Shape it to its original dimensions. Keep it away from direct sunlight, radiators, and bathroom humidity. Drying typically takes six to twelve hours.
When to Use the Machine
If your machine has a dedicated silk or hand-wash cycle (common on higher-end models from Miele, Bosch, or LG), you can machine wash silk with these precautions:
- Turn the garment inside out
- Place it in a fine-mesh laundry bag
- Use cold water only
- Select the lowest spin speed
- Remove immediately when the cycle ends
- Dry flat as described above
Never machine dry silk. Even the air-dry setting can cause damage.
The Vinegar Trick
Adding a tablespoon of white vinegar to the rinse water helps remove detergent residue and restores silk’s natural pH balance. It also helps set dye and prevents graying over time. The vinegar smell disappears completely once the garment dries.
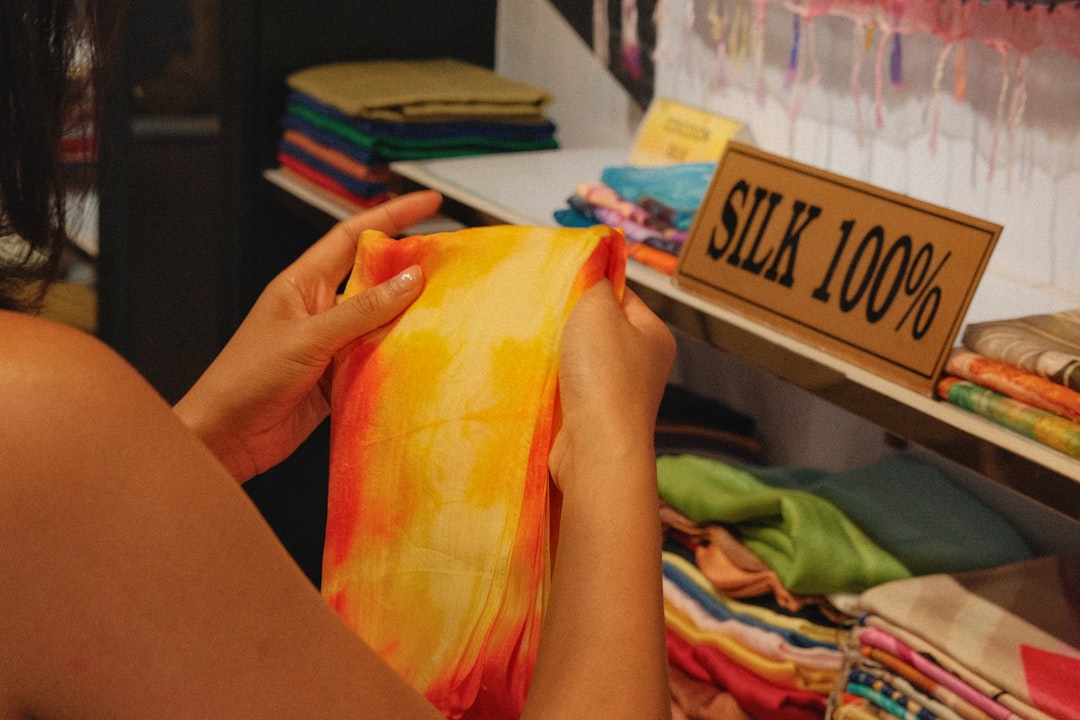 Photo by Quang Tran on Unsplash
Stain Rescue Without the Panic
Stains on silk feel catastrophic because the window for safe treatment is narrow. But most fresh stains can be removed with patience and the right approach.
The General Rule: Act Fast, Go Gentle
For fresh stains, blot—never rub. Rubbing pushes the stain deeper into the fibers and can create a permanent halo effect. Use a clean white cloth or paper towel to absorb as much liquid as possible.
For protein-based stains (coffee, wine, blood, sweat), rinse the area with cold water from the back of the fabric. Push the stain out rather than pulling it through. Then apply a small amount of silk-safe detergent directly to the stain and let it sit for fifteen minutes before washing the entire garment.
For oil-based stains (makeup, food grease, lotion), sprinkle cornstarch or talcum powder on the spot and let it sit for an hour to absorb the oil. Brush off the powder gently, then hand wash as usual.
What Not to Do
- Do not use bleach, hydrogen peroxide, or any chlorine-based product
- Do not use stain removers containing enzymes
- Do not rub with bar soap (the alkalinity damages silk)
- Do not apply heat to a stain—no hair dryers, no irons—until you’re certain the stain is gone
When to Accept Professional Help
Some stains require a professional. Old set-in stains, large oil stains, and stains on vintage silk (which may have weakened fibers) are best handled by a dry cleaner who specializes in silk. When choosing a cleaner, ask specifically about their silk process. A good cleaner will test for colorfastness and use solvent-based cleaning rather than water for certain silk types.
Storage: The Long Game
You’ve washed your silk correctly, dried it flat, and now you need to store it in a way that preserves its integrity for seasons to come. This is where most silk damage actually occurs—not in the wash, but in the drawer.
Folding vs. Hanging
Heavy silk items like blouses and dresses can be hung, but only on padded hangers. Wire hangers create pressure marks that can become permanent creases or even tears over time. Wooden hangers with a smooth finish are acceptable, but padded hangers distribute the weight more evenly.
Lightweight silk items—slips, camisoles, scarves—should be folded, not hung. Gravity pulls on the fibers and can cause stretching at the shoulders and seams. Fold them in acid-free tissue paper to prevent crease lines from setting.
The Moth Problem
Silk is a protein fiber, which means moths find it delicious. Cedar blocks, lavender sachets, and airtight storage containers are your defense. Vacuum-sealed bags work well for out-of-season items, but never vacuum-seal silk for extended periods without ensuring it’s completely dry—any residual moisture can cause mildew.
Climate Considerations
Silk is hygroscopic, meaning it absorbs moisture from the air. Store silk in a cool, dry place with consistent humidity. Bathrooms and basements are risky. If you live in a humid climate, consider adding silica gel packets to your storage containers.
Repair: Extending Life Beyond the First Snag
Even with perfect care, silk can snag, tear, or develop small holes. The fiber is strong but thin, and a sharp edge on a ring or a rough zipper can catch a thread. Repairing silk is intimidating but entirely doable for most common issues.
Snags and Pulls
A snag is a pulled thread that hasn’t broken. To fix it, gently stretch the fabric around the snag in all directions to redistribute the tension. If the thread is still visible, use a fine needle to carefully guide it back to the wrong side of the fabric. Never cut a snag—this creates a hole.
Small Holes and Tears
For holes smaller than a quarter-inch, a technique called “darning” works well. Use a fine silk thread (match the color as closely as possible) and a sharp needle. Work from the wrong side of the fabric, weaving the thread across the hole in a grid pattern. The goal is to create a new structure that mimics the original weave.
For larger tears, consider visible mending. A small decorative patch or a sashiko-style stitch can turn a flaw into a design feature. This approach works particularly well on solid-colored silk blouses where the repair becomes a subtle intentional detail.
Hem and Seam Repairs
Loose hems and split seams are the easiest repairs. Use a slip stitch or a ladder stitch to close the gap invisibly. If the original thread has weakened, replace it with silk thread rather than polyester—polyester is stronger than silk and can cause tension damage over time.
When to Retire a Piece
Not every silk garment can be saved. If the fabric has become brittle and is developing multiple holes (a sign of dry rot), or if the color has faded unevenly due to sun damage, the piece has reached its natural end. At this point, consider repurposing the fabric for smaller projects—silk pillowcases, hair scrunchies, or even cleaning cloths for delicate surfaces.
For a deeper dive into specific repair techniques, our guide on how to repair a silk blouse like a pro covers darning, stain rescue, and snag repair in detail.
The Care Routine Worth Keeping
Caring for silk doesn’t require a chemistry degree or a closet full of specialty products. It requires three consistent habits:
Wash less than you think you should. Silk doesn’t need laundering after every wear unless it’s visibly soiled or exposed to sweat. Hanging it to air out overnight between wears removes most odors and keeps the fibers from unnecessary stress.
Test before you treat. Before any stain treatment, detergent switch, or new cleaning method, test on an inconspicuous area—inside a seam allowance or hem. This five-second step prevents most disasters.
Store with intention. The way you store silk determines how long it lasts. Padded hangers, acid-free tissue, moth prevention, and climate control are not optional luxuries. They are the difference between a blouse that lasts five years and one that lasts twenty.
Silk asks for attention, not fear. Every time you hand wash a silk blouse correctly, you extend its life and keep it out of the waste stream. Every snag you repair, every stain you treat gently, every folded scarf you store properly—these small acts accumulate into a wardrobe that earns its keep.
If you’re building a secondhand-first wardrobe, silk is one of the most rewarding fabrics to source. Vintage silk blouses, slips, and scarves are abundant in thrift stores and consignment shops because previous owners didn’t know how to care for them. Now you do. And that knowledge is what turns a fragile fabric into a lasting one.
For more on building a wardrobe that works with your care habits rather than against them, read our guide on the 70/30 rule for wardrobe building and how to balance delicate silks with everyday staples.