You’ve spotted it in the mirror just before walking out the door: a single, pulled thread on your favorite silk blouse, or worse, a small hole near the seam. The instinct is to panic, maybe even reach for the scissors. That is the mistake. Silk, for all its delicacy, is one of the most forgiving natural fibers to repair—if you know the right technique. Most snags, minor runs, and tiny holes under one centimeter are fixable at home with a snag needle, a bit of fray sealant, or basic hand-stitching. This playbook covers the three most common silk emergencies—snags, stains, and small tears—so you can rescue your pieces instead of retiring them.
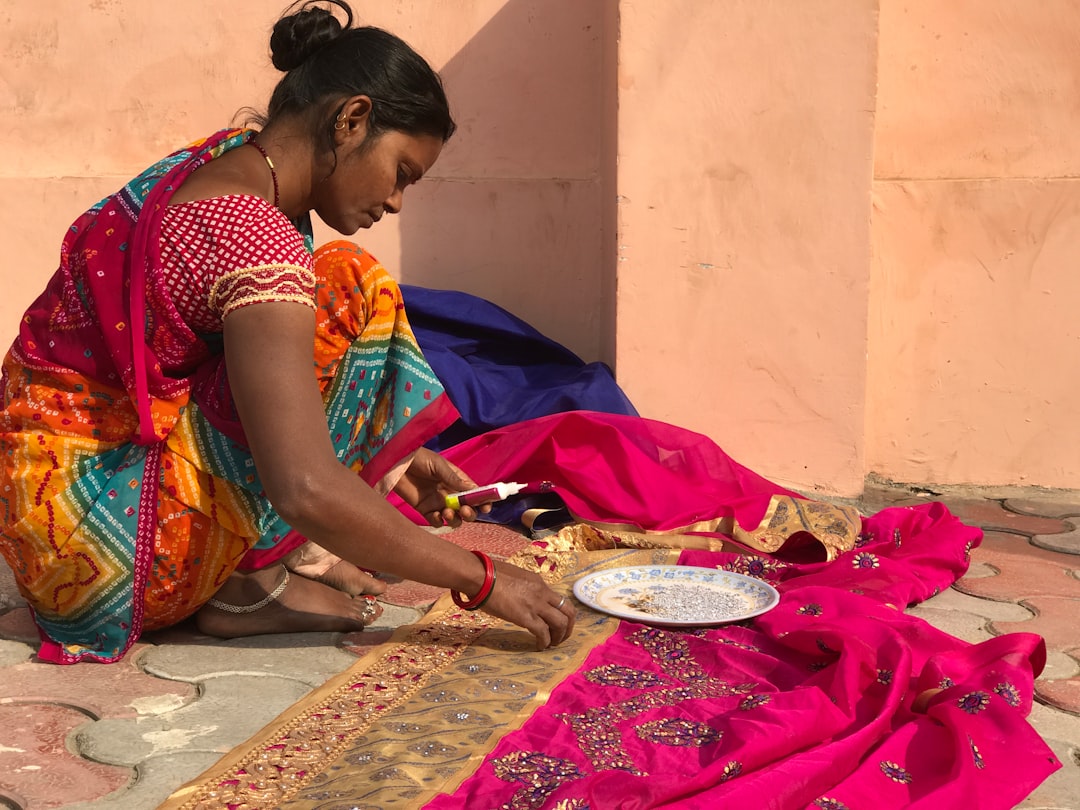 Photo by Laurie Amerson on Unsplash
Why Silk Snags and Tears (and How to Prevent It)
Silk is a protein fiber, similar to human hair, which gives it that luminous sheen and soft hand. But that same structure makes it prone to snagging on rough surfaces—think metal zippers, Velcro straps on bags, or even a chipped fingernail. The fibers are long and continuous, so a single pulled thread can travel if not addressed immediately.
Prevention is your first line of defense. Before you reach for that silk blouse, check your accessories. Bracelets with sharp edges, bag hardware, and even the clasp of a necklace can catch and pull. When storing silk, fold it rather than hang it on a wire hanger; the weight of the fabric can cause strain at the shoulders, leading to tears. If you must hang it, use padded or velvet hangers.
For those who have already built a capsule around silk pieces—perhaps a favorite blouse from a sustainable basics brand or a secondhand find you scored using our secondhand silk blouse strategy—the next step is learning to read the damage. Not every snag is a disaster. Some are merely surface loops that can be coaxed back into place.
The Snag Rescue: From Loop to Invisible
This is the most common silk injury and the easiest to fix. You see a single loop of thread pulled away from the weave. Do not pull it. Do not cut it. Instead, follow this method:
- Gently stretch the fabric around the snag. This relaxes the surrounding threads and gives you room to work. Work on a flat, well-lit surface.
- Use a fine needle or snag needle. A snag needle is essentially a tiny crochet hook. Insert it from the wrong side of the fabric, catch the loop, and pull it gently through to the back. If you don’t have a snag needle, a hand-sewing needle works—just be careful not to split the thread.
- Pet the snag back into place. Once the loop is on the wrong side, use the needle tip to gently nudge the thread back into its original path. Work in the direction the snag came from, then switch directions to even out the tension.
- Press lightly. Place a pressing cloth over the area and use a warm (not hot) iron. The steam will help the fibers settle.
If the snag has created a small hole (under 1 cm), you can apply a tiny drop of fray sealant to the wrong side to lock the threads in place. Let it dry completely before wearing.
Stain Removal for Silk: A Gentle Approach
Silk is hydrophilic—it loves water—which means it also loves absorbing stains. But it hates alkaline substances, so no baking soda, no vinegar, and definitely no bleach. The key is acting fast and using the right solvent for the stain type.
Common Stain Types and Their Silk-Safe Treatments
| Stain Type | Immediate Action | Silk-Safe Treatment | What to Avoid |
|---|---|---|---|
| Oil-based (grease, makeup, salad dressing) | Blot with a clean cloth; do not rub | Apply a small amount of gentle dish soap mixed with water; dab, then rinse with cool water | Rubbing alcohol, baking soda paste |
| Protein-based (sweat, blood, wine) | Rinse with cold water immediately | Soak in cool water with a drop of mild silk-friendly detergent (like Eucalan or The Laundress) for 15 minutes | Hot water, enzyme-based stain removers |
| Tannin-based (coffee, tea, fruit juice) | Blot, then apply white vinegar diluted 1:4 with water | Dab with the solution, rinse, then wash according to care label | Chlorine bleach, hydrogen peroxide |
| Water-based (soda, clear liquids) | Blot immediately | Wash per care label; these usually lift easily | Heat (can set the stain) |
The golden rule: Always test any stain treatment on an inconspicuous area first—the inside of a hem or under the arm. And never rub silk vigorously; you risk distorting the weave. Instead, dab and blot.
If the stain is stubborn, consider taking the garment to a professional dry cleaner who specializes in silk. But for most everyday mishaps, a gentle hand-wash with cool water and a silk-specific detergent will do the trick. For more on decoding care labels, see our garment care label decoder.
Darning Small Tears: The Invisible Mending Method
A tear in silk feels catastrophic, but if it’s along a seam or in a non-stress area, you can darn it nearly invisibly. The goal is not to create a patch but to weave new threads into the existing structure.
What You’ll Need
- Matching thread (silk thread is ideal, but fine polyester thread in a matching color works)
- A fine needle (size 8 or 9)
- An embroidery hoop (optional, but helpful for keeping the fabric taut)
- Fray sealant (optional)
The Technique
- Stabilize the tear. Place the fabric in an embroidery hoop if the tear is in a flat area. If it’s near a seam, you can work without one.
- Thread your needle with a single strand. Knot the end. Insert the needle from the wrong side, coming up about 2 mm from the edge of the tear.
- Weave across the tear. Using a running stitch, go across the tear perpendicular to the direction of the fabric’s weave. Keep the stitches small and even—about 1 mm apart.
- Weave back. Once you reach the other side, reverse direction and weave back, filling in the gaps. You are essentially re-creating the fabric’s weave.
- Secure the ends. On the wrong side, make a small knot and bury the thread under the repaired area. Trim excess.
- Press. Use a pressing cloth and a warm iron to blend the repair.
For tears longer than 1 cm, you may need to use a patch of matching silk on the wrong side. Cut the patch slightly larger than the tear, baste it in place, then darn over it. This adds strength without bulk.
 Photo by DL314 Lin on Unsplash
When to Use Fabric Glue (and When Not To)
Fabric glue is a tempting shortcut, and for some repairs, it works beautifully. The best options are flexible, clear-drying, and designed for delicate fabrics. Brands like Aleene’s Fabric Fusion or Dritz Liquid Stitch are popular choices.
Use fabric glue for:
- Securing a loose hem on a silk scarf
- Adhering a small patch to the wrong side of a tear
- Reinforcing a seam that has started to pull apart
Do not use fabric glue for:
- Tears in high-stress areas (armholes, waistbands)
- Snags that can be pulled back into place
- Any repair where the glue will be visible on the right side
Apply glue sparingly—a toothpick tip is enough. Let it dry fully (usually 24 hours) before wearing or washing.
The Truth About Replacement: When to Let Go
Not every silk blouse can be saved, and that is okay. You have permission to retire a piece when:
- The tear is larger than 2 cm and in a high-stress area (like the underarm or center front)
- The fabric has become brittle or has multiple runs that cannot be stabilized
- The stain has set and cannot be lifted without damaging the fiber
In those cases, consider upcycling the silk into something new: a scarf, a pillow cover, or even a lining for a jacket. Silk is too beautiful to send to landfill. And when you are ready to replace it, shop secondhand first. Our secondhand blazer checklist applies just as well to silk blouses—look for intact seams, no odor, and a care label that hasn’t disintegrated.
The Care Routine Worth Keeping
Silk rewards consistency. The difference between a blouse that lasts five years and one that lasts five wears often comes down to how you care for it between repairs.
- Wash by hand or on a delicate cycle in a mesh bag. Use cold water and a silk-specific detergent. Never wring or twist; roll in a towel to remove excess water.
- Dry flat, away from direct sunlight. Heat and UV light weaken silk fibers over time.
- Iron while damp. Use a low heat setting and always use a pressing cloth. Steam is your friend; direct contact with a hot iron is not.
- Store folded in a breathable cotton bag. Avoid plastic dry-cleaning bags, which trap moisture and can cause yellowing.
And when you do encounter a snag or stain, remember: you have the tools and techniques to fix it. A little patience and a fine needle are all it takes to keep your silk pieces in rotation for years. That is the real luxury—not the fabric itself, but the care you give it.